Table Of Contents
How to Remove an Old Tap Spindle
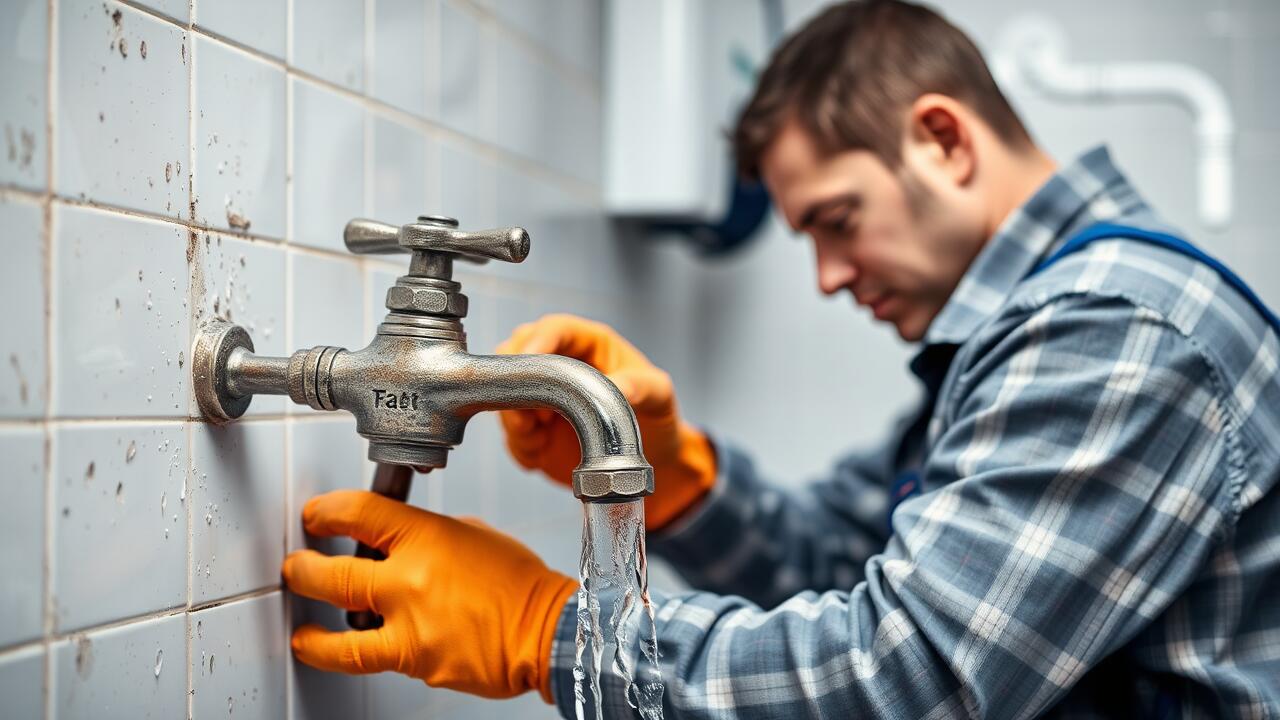
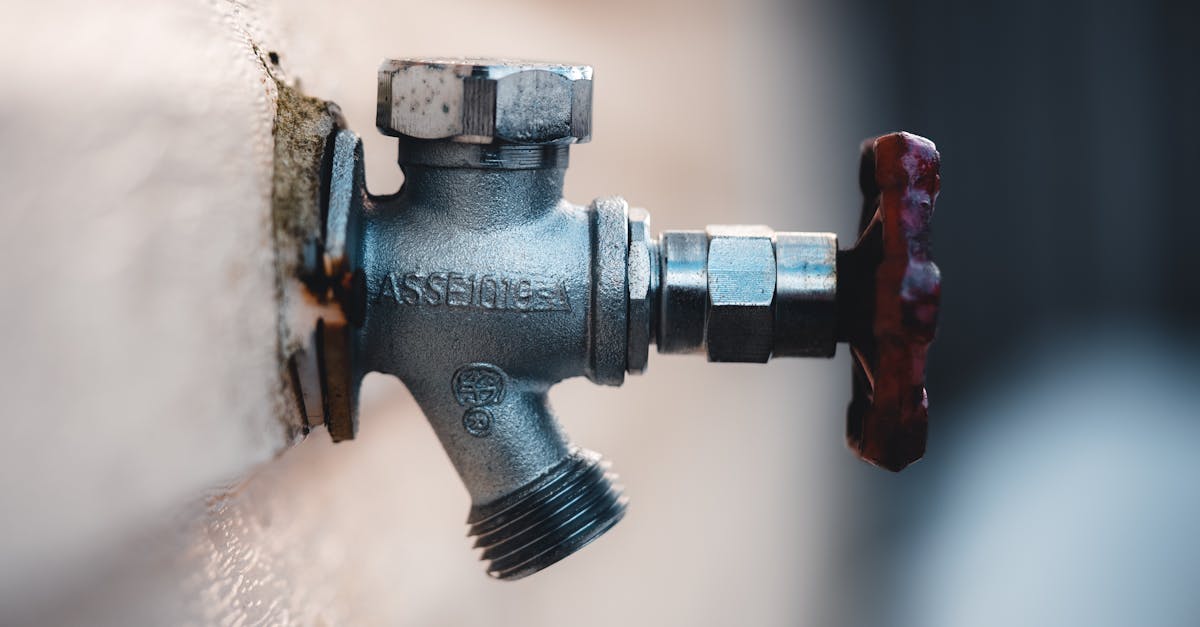
To remove an old tap spindle, start by ensuring the water supply to the tap is turned off. This prevents any unexpected leaks during the process. Use a suitable spanner to loosen the retaining nut securing the spindle in place. If the spindle has been in use for many years, it may be corroded or stuck. Apply some penetrating oil to help ease it out, then gently twist and pull to extract it from the tap body.
Once the retaining nut is removed, you should be able to pull the spindle straight out. Inspect the spindle and surrounding area for any signs of wear or damage. Leaking taps often result from a worn spindle or seat, so it's wise to check for any debris or mineral build-up that could impede a proper seal. Clean the area thoroughly before proceeding to install the new spindle.
Safe Methods for Removal
When dealing with leaking taps, it is essential to approach the removal of the old tap spindle with care to avoid further damage to the fixture. Start by turning off the water supply to the tap. This will prevent any water from flowing and creating a bigger mess during the removal process. Use a bucket or towel to catch any residual water in the line. It's advisable to have the right tools on hand, including a pair of pliers, a screwdriver, and a tap wrench, to facilitate easy removal without stripping screws or damaging the spindle.
Another effective method is to apply some lubricant around the base of the spindle. This can help loosen any corrosion or mineral build-up that may prevent easy removal. Gently wiggle the spindle back and forth while turning it counterclockwise. In the case of particularly stubborn spindles, using a heat source like a hairdryer can also assist in loosening the fittings. Remember to remain patient throughout the process, as rushing can lead to accidental damage or injury.
Installing the New Tap Spindle
When installing a new tap spindle, ensure that the replacement part matches the specifications of the old spindle. Begin by applying a small amount of plumber's grease to the threads of the spindle. This will promote smooth installation and help prevent any potential issues down the line. Carefully insert the spindle into the tap body, aligning it properly to avoid cross-threading. Firmly tighten the spindle with a wrench, but take care not to overtighten, as this can cause damage.
After securing the new tap spindle, it’s important to reassemble any components previously removed, such as the handle or decorative cover. Turn on the water supply gradually and check for leaks. Pay special attention to the area around the spindle. Leaking taps can lead to unnecessary water wastage and potential damage, so ensuring a tight fit is critical for optimal performance. Adjustments may be necessary if you notice any drips, which could indicate that the spindle is not seated correctly.
Proper Techniques for Installation
Installing a new tap spindle requires attention to detail and precision. Begin by ensuring the area is clean and free from debris. This will prevent any obstructions during installation. Fit the new spindle into the valve seat, making sure it aligns correctly. Use a suitable wrench to tighten the retaining nut securely but avoid overtightening, as this may damage the threads or cause misalignment.
After securing the spindle, reattach the handle. Ensure it turns smoothly without any resistance. Check the operation of the tap by turning it on and off several times. Keep an eye out for any signs of leaking taps. If you notice any water seeping from around the spindle or handle, you may need to re-examine your installation process. The goal is a snug fit that maintains a watertight seal while allowing for smooth functionality.
Testing Your New Tap Spindle
After installing the new tap spindle, it’s essential to test its functionality to ensure that everything is working correctly. Begin by turning on the water supply slowly and checking for any signs of leaking taps. Pay attention to the area around the spindle and under the sink, as leaks can often go unnoticed if they are minor. If you notice any dripping or pooling water, you may need to reassess the installation to identify the issue.
Next, operate the tap to check how smoothly it turns. A properly installed spindle should allow the tap to open and close with ease. Be sure to assess both the flow of water and the temperature control, confirming that the tap responds correctly to adjustments. Regular testing at this stage can help prevent future problems, saving time and money in repairs related to leaking taps.
How to Ensure Proper Functionality
Testing your new tap spindle is crucial to ensure it functions correctly. Once you’ve installed the spindle, turn the water supply back on slowly. Check for immediate signs of leaking taps. If you notice any water seeping around the spindle area, you may need to tighten the fittings or re-evaluate the installation process.
After addressing any immediate leaks, allow the tap to run for a few minutes. Observe how the water flows and listen for any unusual noises. A correctly installed spindle should operate smoothly and quietly. If you experience persistent leaking taps or irregular water flow, further inspection might be required to identify any underlying issues.
FAQS
Can I replace a tap spindle myself?
Yes, you can replace a tap spindle yourself if you have the right tools and follow the proper steps outlined in the article.
What tools do I need to remove an old tap spindle?
You will typically need an adjustable wrench, a screwdriver, and possibly a pair of pliers for grip while removing the spindle.
How do I know if my tap spindle needs replacing?
Signs that your tap spindle may need replacing include leaks, difficulty turning the tap, or water not stopping when the tap is closed.
Is it difficult to install a new tap spindle?
Installing a new tap spindle is generally straightforward if you follow the proper techniques; however, if you’re unsure, it’s advisable to consult a professional.
What should I do if the new tap spindle does not fit?
If the new tap spindle does not fit, ensure you have the correct size and type for your tap model. You may need to consult the retailer or manufacturer for assistance.
