Table Of Contents
Replace Damaged Parts
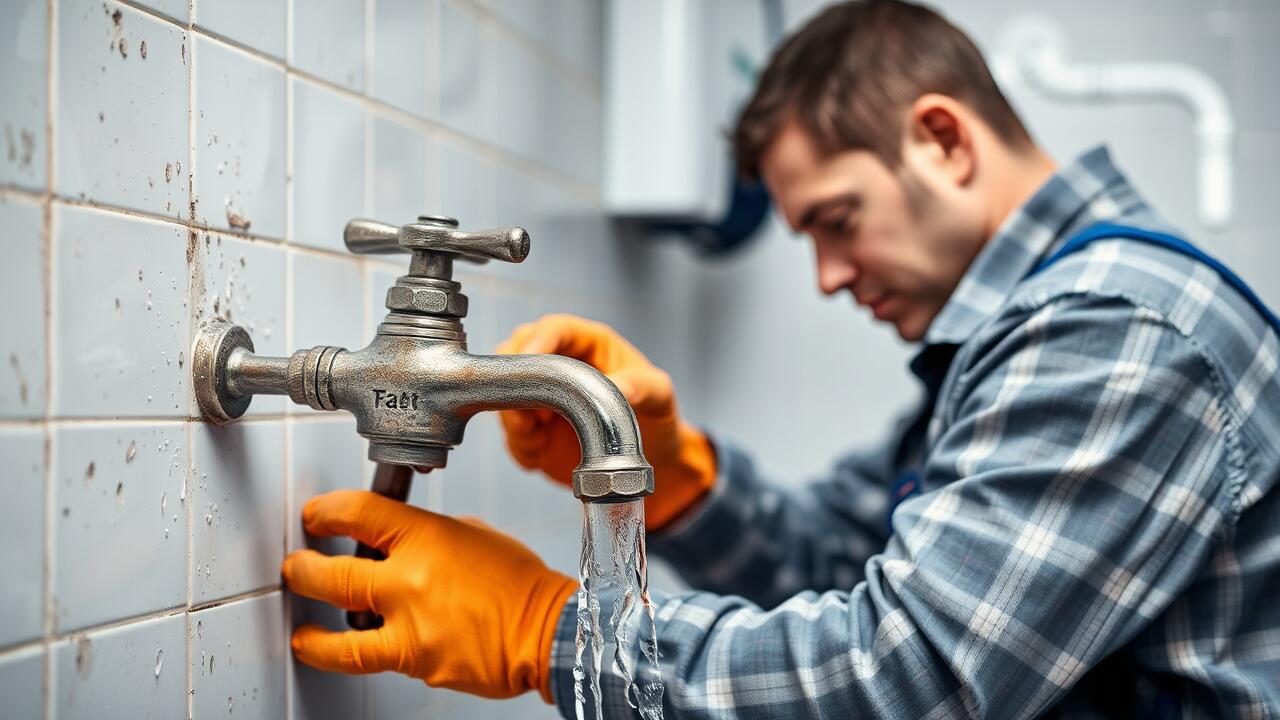
One of the first steps to address leaking taps is to identify and replace any damaged parts. Common culprits include washers, O-rings, and seals, which can wear out over time due to constant friction and pressure. Regular inspections can help determine if these components need to be replaced. Having the right size and type of replacement part on hand ensures a smoother repair process and minimises downtime.
When selecting replacement components, it is essential to match them precisely with the existing parts. Using the wrong size or type may not solve the problem and can lead to further leaks. Most hardware stores offer a range of tap repair kits that include various washers and seals. Consulting the tap's manual or seeking advice from a knowledgeable staff member can also aid in making the right choice. Addressing these issues promptly will help maintain the integrity of the plumbing system.
Choosing the Right Replacement Components
Choosing the right replacement components is essential when dealing with leaking taps. The first step involves identifying the type of tap you have, as various designs require specific parts. For example, cartridge taps may need a new cartridge, while compression taps often require new washers. It's advisable to take the damaged component to a hardware store to find an exact match or consult with a professional for guidance.
Quality of the replacement parts should be a top priority. Opting for high-quality materials can prevent future leaks and enhance the longevity of your tap. Look for trusted brands or components marked with warranties. By ensuring that these parts are compatible and durable, you can effectively address the issue of leaking taps and avoid unnecessary repairs in the future.
Reassemble the Tap
Once you have replaced the damaged parts, it is time to reassemble the tap. Start by carefully fitting any washers, O-rings, or other components back into their original positions. Pay attention to the order in which parts were removed to ensure they are reinstalled correctly. Avoid using excessive force, as this may cause additional damage or misalignment. A gentle push should be sufficient to secure each component in place.
After ensuring all parts are properly repositioned, secure the tap’s handle or lever. Tighten any screws or nuts without over-torquing, as this could lead to future issues. Once everything is firmly in place, take a moment to double-check your work to ensure no components are missing or incorrectly aligned. Proper reassembly can prevent leaking taps from becoming a recurring problem, ultimately saving time and water.
Proper Techniques for Reassembly
Reassembling the tap requires careful attention to detail to ensure that all components fit together snugly. Start by aligning the parts correctly, making sure that washers and O-rings are seated properly in their designated grooves. Avoid using excessive force when tightening screws or nuts, as this can strip threads or damage fragile components. It helps to refer to a schematic or take pictures during disassembly, which can guide you during reassembly and prevent mistakes.
After the tap is fully reassembled, it’s essential to turn the water supply back on gradually. Monitor the tap for any signs of leaking taps immediately after reactivation. If any drips or flows appear, it may indicate that a part was not seated properly or needs to be tightened further. Conduct a thorough check around the base and handle to ensure everything is secure and functioning as intended.
Turn On the Water Supply
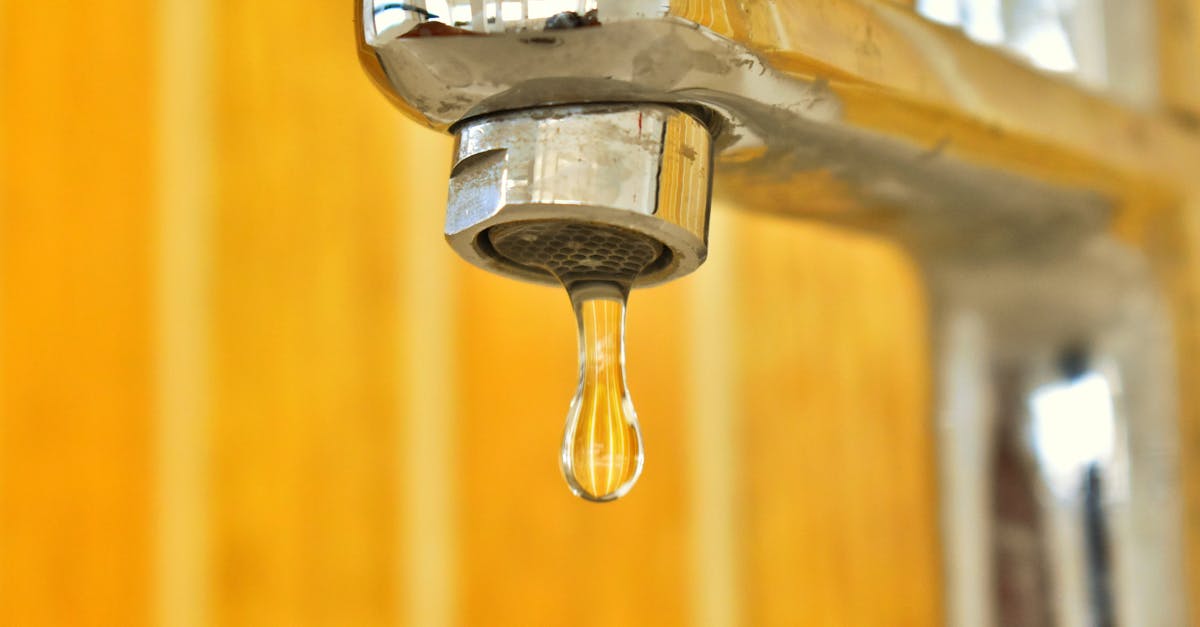
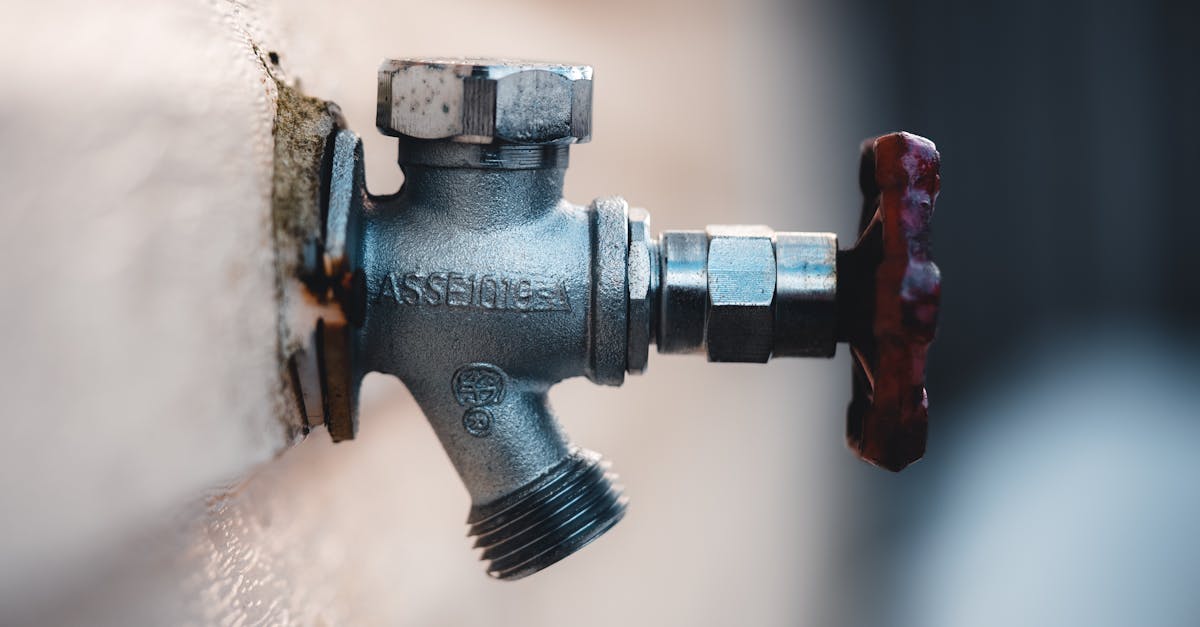
Once the tap has been reassembled, it is time to turn the water supply back on. Gently open the main valve or stopcock to restore water flow. Before you fully open the tap, ensure that everything is properly secured to avoid any mishaps. Leaking taps not only waste water but can also lead to further damage if not addressed promptly.
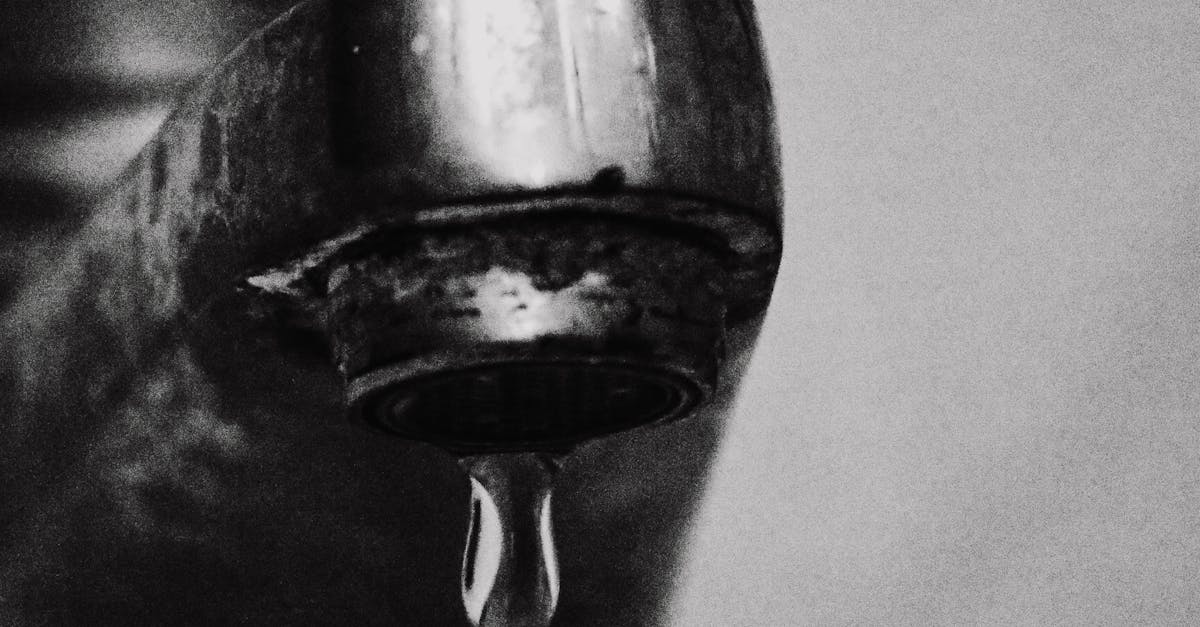
After the water supply is restored, check for any signs of leaks around the tap. Turn on the tap to its usual flow and observe closely for any drips or moisture. Addressing leaking taps early can save you from costly repairs and help maintain your plumbing system in good order. If leaks persist, further inspection may be necessary to identify any issues with the seal or connections.
Checking for Leaks After Reassembly
Once you have reassembled the tap, it is crucial to turn the water supply back on cautiously. As the water flows through the newly fitted components, keep an eye out for any signs of leaking taps. This initial observation is important, as minor adjustments might still be required to ensure a tight seal. A slow dribble or a consistent stream can indicate that the O-ring or washer is not seated correctly.
If you notice leaking taps during this stage, it may be necessary to disassemble the tap again and check the installed parts. Inspect for any cracks or wear in the components that may not have been evident initially. Properly tightening the screws and fittings can also play a significant role in preventing leaks. Once all adjustments are made, recheck for any signs of water escaping, ensuring your repair has been successful.
FAQS
What are the common causes of a leaking tap?
Common causes of a leaking tap include worn-out washers, damaged O-rings, corroded valve seats, and loose fittings.
How can I determine which part of the tap is damaged?
You can determine which part is damaged by disassembling the tap carefully and inspecting components such as washers, O-rings, and valve seats for signs of wear or damage.
Do I need special tools to fix a leaking tap?
While basic tools like a wrench and screwdriver are usually sufficient, some tap repairs may require specific tools such as a basin wrench or a tap spanner, depending on the type of tap.
Is it necessary to turn off the water supply before attempting to fix a tap?
Yes, it is crucial to turn off the water supply before making any repairs to avoid flooding and ensure safety while working on the tap.
What should I do if my tap continues to leak after reassembly?
If your tap continues to leak after reassembly, double-check that all components are properly seated and tightened. If the issue persists, you may need to replace additional parts or consult a plumber for further assistance.
