Table Of Contents
Replacing Washers and ORings
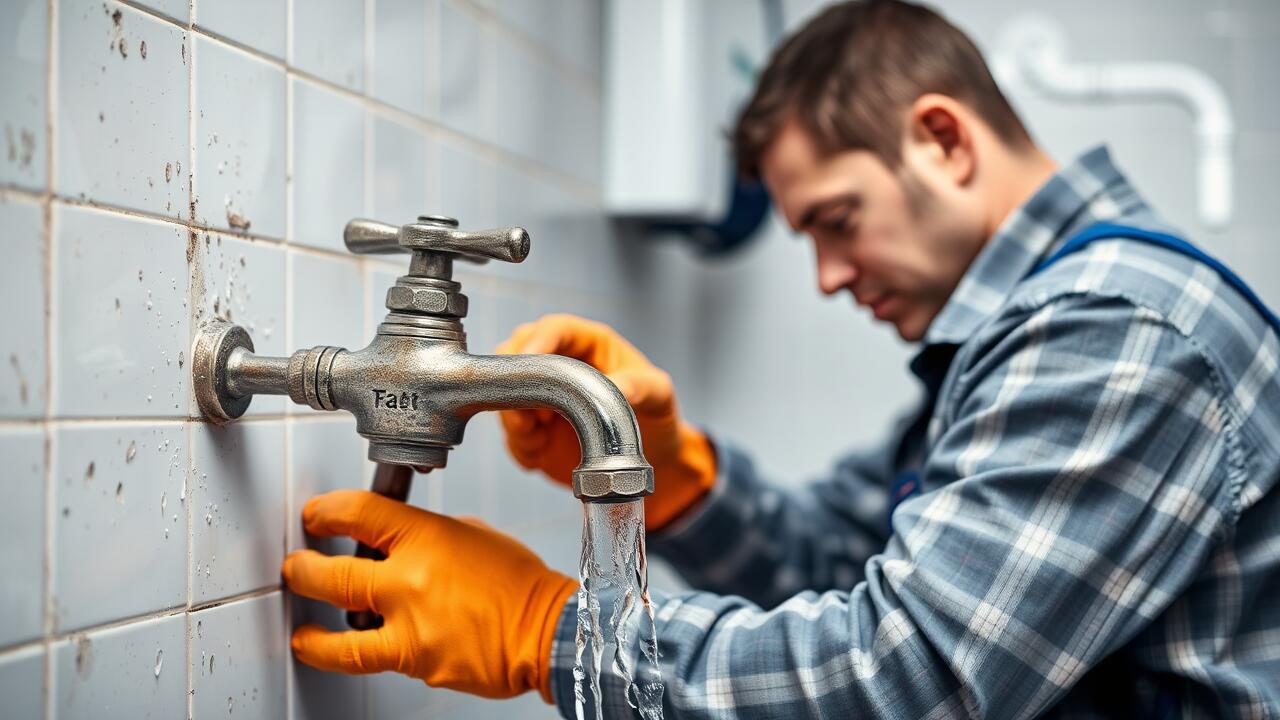
Replacing washers and O-rings is often the first step in addressing leaking taps. These components can wear out over time due to regular use, leading to the annoying drip that many homeowners experience. When replacing these parts, it's essential to first turn off the water supply to the tap. This prevents unwanted water flow during the repair process. Once the water is off, disassembling the tap carefully allows you to access the washer or O-ring, which can usually be removed with a simple twisting motion.
When selecting new washers and O-rings, it's critical to choose the correct size and type to ensure a proper fit. Many hardware stores provide a variety of options, and taking the old components along can help in finding the perfect match. After installing the new parts, reassemble the tap while ensuring everything is tightened as needed. A secure fit is crucial to prevent future leaking taps and to restore the functionality of your faucet. Regular maintenance of washers and O-rings can ultimately help to prolong the life of your tap and minimise water wastage.
Key Considerations for Effective Replacement
When it comes to replacing washers and O-rings, it's essential to determine the correct size for your tap model. Take the time to remove the old components and measure them precisely. Many hardware stores offer a variety of options, so ensure you select washers and O-rings that fit snugly. A poor fit can lead to issues down the line. Leaking taps often stem from improper replacements, which may seem minor but can result in ongoing water wastage.
Additionally, consider the material of the new components. Rubber and silicone are common choices, although they serve different purposes. Rubber is generally more absorbent, while silicone can resist higher temperatures. It’s essential to choose the right material based on the environment and usage of your tap. Always inspect the surrounding area for signs of wear or corrosion that could affect the efficiency of your new washers and O-rings. Addressing these concerns can significantly reduce the chances of leaking taps reoccurring after you've completed your repairs.
Checking for Corrosion and Damage
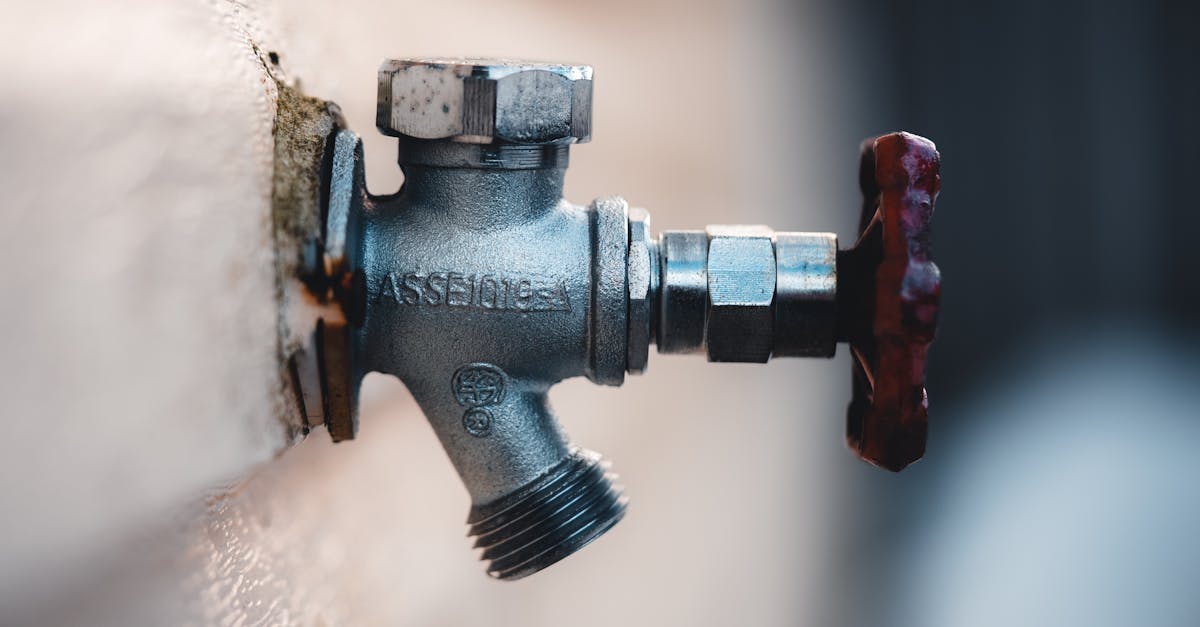
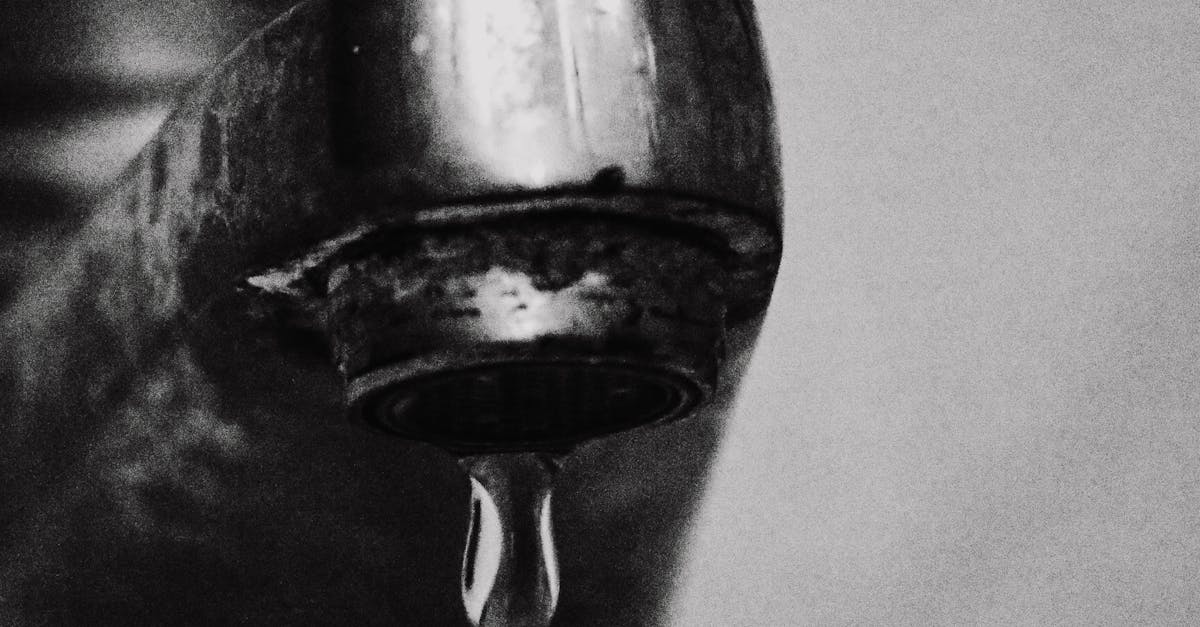
Inspecting your tap for signs of corrosion and damage is essential in identifying the cause of leaking taps. Corrosion often occurs where metal parts come into contact with water over time. Look for any discolouration, rust, or pitting on the exterior and interior components. A thorough examination of the tap's body and any visible fittings can reveal areas where wear and deterioration may lead to leaks.
In addition to corrosion, pay attention to any cracks or missing pieces in the tap assembly. Damaged components can compromise the integrity of the tap, resulting in leaking taps. If you notice any significant damage, replacing those parts becomes necessary for a proper fix. Regular maintenance of your tap can help prevent such issues and ensure that it remains functional for longer periods.
Assessing the Condition of Your Tap
To effectively address the issue of leaking taps, it is essential to thoroughly inspect the condition of your tap. Begin by examining the exterior for any visible signs of wear or corrosion. This includes checking the body and spout for rust or mineral build-up, which may indicate underlying issues. If the tap appears to have sustained damage, this may contribute to its leaking. Additionally, take note of any loose components that may require tightening or replacement.
Moving on to the inner workings of the tap, remove the handle and access the cartridge or valve assembly. Assess these parts for any signs of wear, such as cracks or frayed rubber components. Leaking taps often stem from damaged washers or O-rings within the assembly. Ensuring that these components are in good condition is vital for a successful repair. If you identify any damaged parts, be prepared to replace them to restore functionality and prevent further leaks.
Reassembling the Tap Properly
Reassembling the tap properly is crucial to prevent any issues, including leaking taps. Once you have replaced washers or O-rings and checked for any signs of corrosion or damage, carefully align the components. Ensure that all parts fit snugly together, matching the original configuration to avoid misalignments. Apply a small amount of plumber’s grease on the O-rings or washers to provide additional lubrication, which can enhance the longevity of the seals.
After you have positioned everything, tighten screws and fittings firmly without overdoing it. Over-tightening can lead to cracks or distortions in the fixtures, which may result in further complications. Once assembled, turn the water supply back on slowly and check for leaks. A well-reassembled tap will not only function correctly but will also help eliminate the concerns associated with leaking taps.
Tips for Ensuring a Tight Seal
When reassembling your tap, ensuring a tight seal is crucial to prevent leaking taps. After replacing washers and O-rings, carefully align all components before tightening any screws or nuts. This alignment helps avoid unnecessary tension that could lead to stress fractures over time. Use a soft cloth to wrap around the fittings if you're using tools to tighten them. This protects the finish of your tap while providing a stronger grip.
Additionally, applying a suitable plumber's tape to the threads can assist in creating an airtight seal. This tape reduces the chances of water seeping through any gaps, contributing to a reliable fit. Take care not to over-wrap the threads, which might cause misalignment. Regular maintenance checks can help identify early signs of wear or loosening, allowing you to address issues before they escalate into more serious problems like leaking taps.
FAQS
How can I tell if my tap washer needs replacing?
If your tap is dripping or the flow of water has become inconsistent, it may be a sign that the washer is worn out and needs replacing.
What tools do I need to replace a tap washer?
Typically, you will need a screwdriver, an adjustable wrench, pliers, and possibly a replacement washer or O-ring specific to your tap model.
How often should I check for corrosion in my tap?
It's a good idea to inspect your tap for corrosion at least once a year, especially if it's an older model or you live in an area with hard water.
Can I use plumbers' tape to stop my tap from dripping?
Plumbers' tape is useful for sealing threaded connections but may not be effective for fixing a dripping tap caused by worn washers or O-rings.
What should I do if my tap continues to drip after replacing the washer?
If the dripping persists, you may need to check for other issues such as damaged threads, corrosion, or problems with the tap's internal components. If you're unsure, consider consulting a professional plumber.
