Table Of Contents
Replacing the Washer or ORing
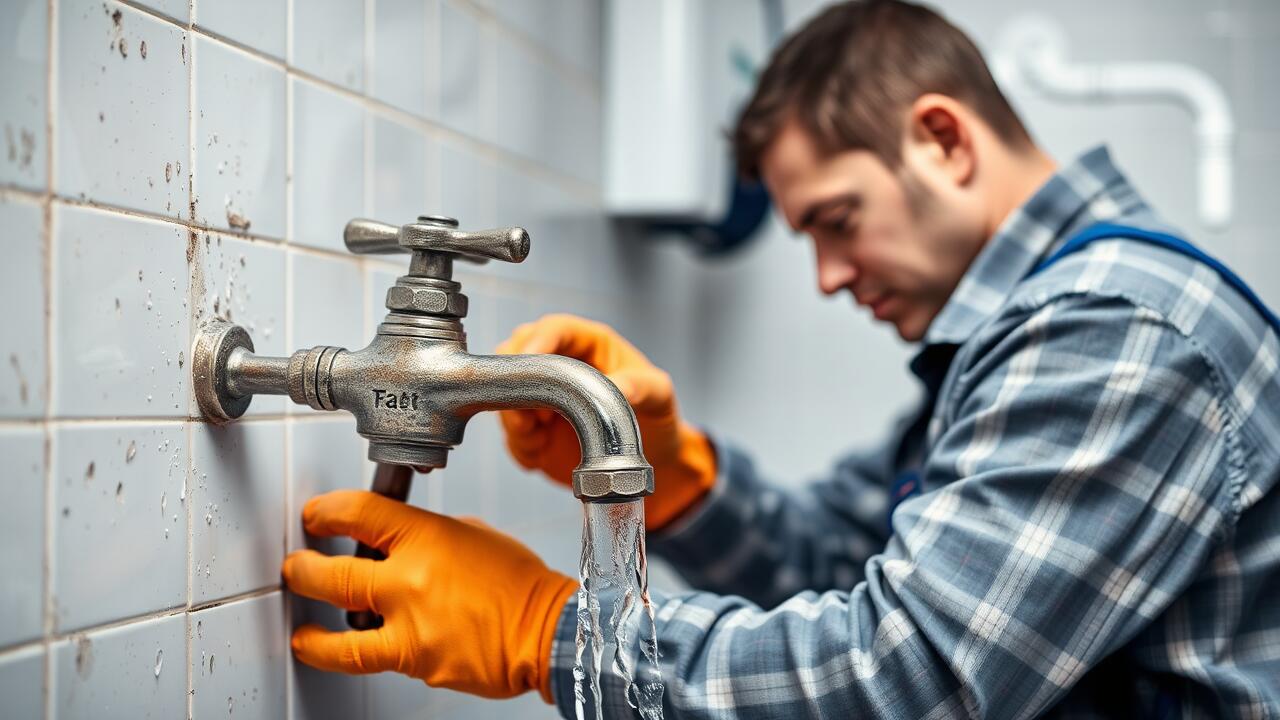
Leaking taps frequently result from worn washers or O-rings inside the tap's mechanism. Over time, these components can degrade due to constant water exposure, causing a loss of seal and leading to persistent drips. To effectively halt the dripping, it is essential to replace these parts. Start by turning off the water supply to the tap. Remove the tap handle and any decorative covers to access the internal components with ease.
Once you have reached the washer or O-ring, carefully remove the old part. It's advisable to take the worn piece to a hardware store to ensure you purchase the correct size and type for your tap model. When selecting replacement parts, consider the quality to ensure longevity and effective sealing. After obtaining the new washer or O-ring, simply install it in the same position as the old one before reassembling the tap. Regular maintenance can prevent future issues with leaking taps.
How to Choose the Right Replacement Parts
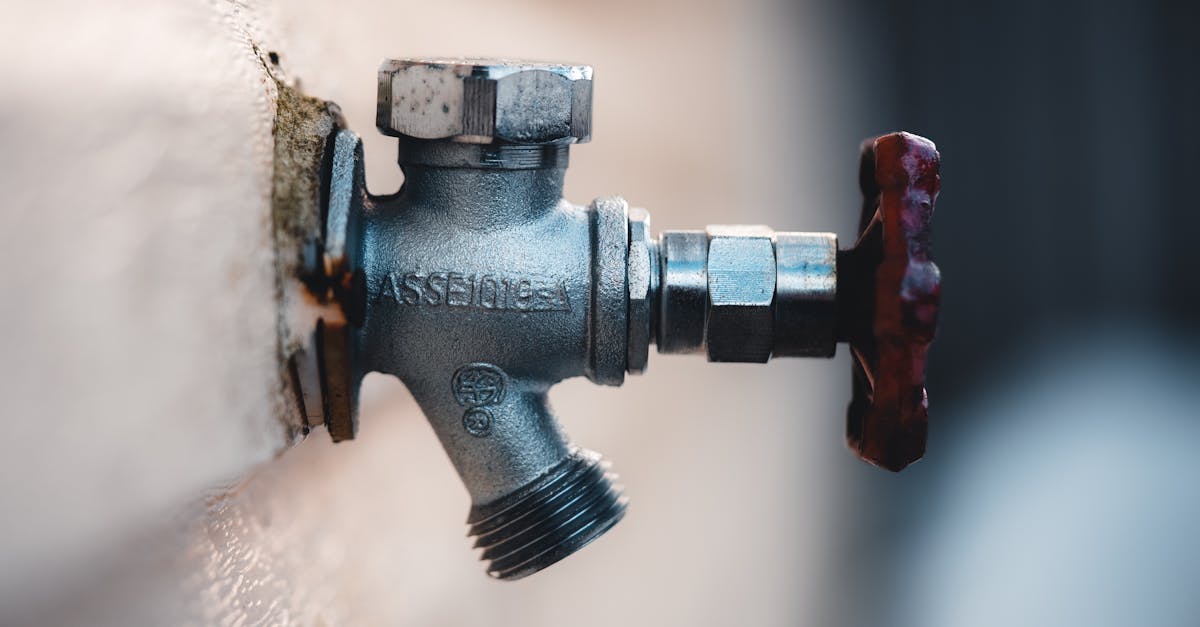
Choosing the right replacement parts for leaking taps requires a careful assessment of the existing components. Begin by identifying the type of tap in use, as different taps may have specific requirements for washers or O-rings. Check the size and shape of the current parts to ensure compatibility. Many hardware stores offer sets that include various sizes, which can be useful for quick repairs.
Once you have identified the necessary parts, consider the material. Rubber and silicone are common choices for washers and O-rings, each offering different durability and resistance to wear. Ensure that the replacement parts are designed for tap fittings to provide a reliable seal. Proper selection of these components is essential to effectively resolve any dripping issues and maintain optimal tap functionality.
Cleaning the Tap Components
Cleaning the components of a tap is essential for ensuring it functions properly and to prevent issues such as leaking taps. Begin by disassembling the tap to access the internal parts. Use a clean cloth or sponge to wipe away any mineral buildup or debris on the surfaces. For areas that are particularly stubborn, a solution of vinegar and water can be effective. This natural cleaning method not only removes limescale but also helps preserve the integrity of the components.
Once the visible grime is eliminated, it's vital to check the washers and O-rings for any signs of wear and tear. A thorough inspection can reveal issues that might contribute to leaking taps. After cleaning and inspecting all parts, rinse them under running water to ensure no cleaning solution remains. Dry the components gently with a soft cloth to prevent water spots or further accumulation of minerals before reassembly.
Techniques for Effective Cleaning
Cleaning the tap components is a crucial step in addressing leaking taps. Before you begin, gather the necessary cleaning supplies. A soft brush or cloth is ideal for removing debris and mineral build-up. Use a mild detergent mixed with warm water to soak the parts, ensuring any residual grime is eliminated. Pay particular attention to areas where water can accumulate, such as the spout and base of the tap. Taking your time with this step will prevent further issues down the line.
For tougher stains or limescale, consider using a vinegar solution for its natural descaling properties. Soak the affected parts for a short period and scrub gently to avoid damaging the surfaces. After cleaning, thoroughly rinse each component with clean water to remove any cleaning solution residue. Allow the parts to dry completely before reassembling. This cleaning process not only addresses the immediate issue of leaking taps but also prolongs the lifespan of your fixtures.
Reassembling the Tap
Once all the components have been cleaned and any worn parts replaced, it’s time to reassemble the tap. Begin with the spindle. Insert it back into the tap body carefully while ensuring that all the internal parts are aligned correctly. Pay attention to any washers or O-rings that need to be in place before securing the spindle. Incorrect placement can lead to leaking taps, causing frustration and a waste of water.
Next, secure the tap body with the retaining nut, making sure it is tightened firmly but not over-tightened, which can cause damage. Replace the tap handle, ensuring it is positioned correctly for ease of use. As you reassemble the tap, keep in mind any decorative covers or caps that may need to be placed back on. After everything is secured, turn on the water supply and check for leaks to ensure a proper seal has been achieved.
Proper Order for Putting the Tap Back Together
Reassembling a tap after repairs requires careful attention to detail to ensure it functions properly and does not lead to leaking taps. Begin by placing the main body of the tap upright. Insert the new washer or O-ring into its designated spot to create a good seal. Next, reattach the spindle, ensuring it fits snugly into the tap body. Tighten any screws or nuts securely, but avoid over-tightening, which could damage the components.
Once the spindle is in place, replace the tap handle by aligning it correctly with the spindle and securing it. If your tap has additional decorative parts, make sure these are added in the correct order as well. Finally, check that all parts are firmly in position before reattaching the tap to the sink. This methodical approach will help prevent leaking taps in the future and ensure a watertight seal.
FAQS
What causes a tap to drip from the spindle?
A tap may drip from the spindle due to worn-out washers or O-rings, sediment build-up, or damaged internal components that fail to create a proper seal.
How can I tell if the washer or O-ring needs replacing?
If you notice water dripping consistently from the tap, or if it feels loose when turning, it may indicate that the washer or O-ring is worn and requires replacement.
Are there specific tools I need to fix a dripping tap?
Typically, you will need a wrench, a screwdriver, and possibly a pair of pliers. Additionally, having replacement washers or O-rings on hand is essential.
Can I clean the tap components instead of replacing them?
Yes, cleaning the tap components can sometimes resolve the issue, especially if sediment is causing a blockage or preventing proper sealing. However, if parts are damaged, replacement may be necessary.
Is it difficult to reassemble the tap after cleaning or replacing parts?
Reassembling the tap can be straightforward if you follow the proper order and take note of how the components fit together. Referencing guides or diagrams can also be very helpful.
