Table Of Contents
Removing the Old Oring
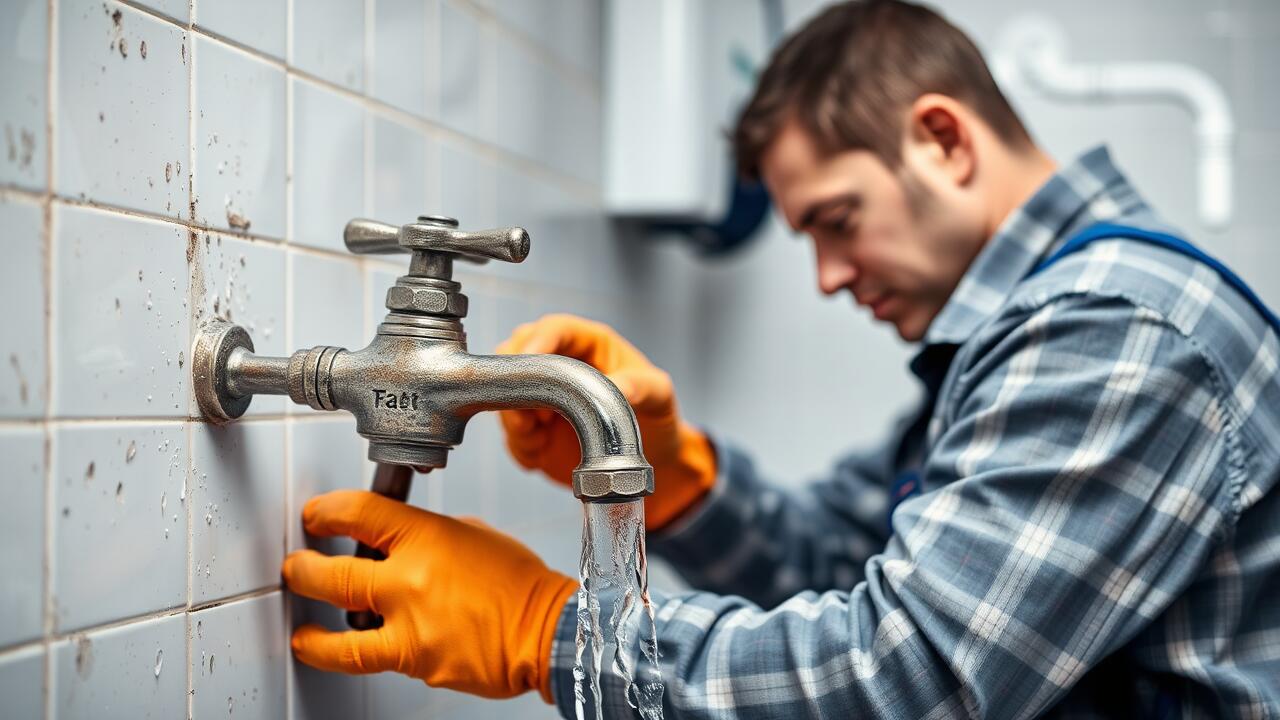
To begin the process of changing an O-ring, it is crucial to remove the old O-ring effectively. Start by shutting off the water supply to avoid any unnecessary leaks. Once the water is turned off, take apart the tap handle using a wrench or screwdriver, depending on the design. Carefully inspect the components for any additional wear or damage that may need attention. Old O-rings can become hardened or brittle over time, making them more challenging to remove.
After dismantling the tap, gently pry the old O-ring out of its groove. It may require a little finesse, especially if the O-ring has fused with the surface due to mineral build-up. Avoid using sharp tools that could scratch or damage the tap. Accumulation of debris or grime may also contribute to leaking taps, so ensure the area is clean before proceeding. Taking these precautions will set a solid foundation for a successful O-ring replacement.
Techniques for Safe Oring Removal
Removing an O-ring from a tap can be a straightforward process if executed with care. Start by turning off the water supply to prevent any unwanted leaks. Use a flathead screwdriver or a similar tool to gently pry out the old O-ring from its groove, avoiding damage to the surrounding components. Just be cautious not to scratch the tap's surface, as this may lead to future issues, including leaking taps.
In some cases, the O-ring might be lodged tightly, requiring a bit more effort. If the O-ring is particularly stubborn, applying a small amount of lubricant can help to loosen it. Ensure the area is clean and free from debris before removal, as any residue can compromise the integrity of the new O-ring. Keeping the workspace tidy can also prevent small parts from getting lost when fixing leaking taps.
Selecting the Right Replacement Oring
When selecting the right replacement O-ring, it’s essential to choose the correct size and material to ensure a proper seal. Start by measuring the O-ring you removed. Use a calliper for precise measurements of both the diameter and thickness. If the original O-ring is not available, consult the tap’s manufacturer specifications or bring the old O-ring to a hardware store for assistance in finding an equivalent size.
Material selection also plays a critical role in the performance of your new O-ring. Common materials include rubber, silicone, and nitrile, each offering different levels of resistance to heat and chemicals. For internal taps that may experience fluctuating water temperatures, a silicone O-ring is often preferable. Selecting the right O-ring not only prevents leaking taps but also extends the lifespan of your plumbing fixtures, minimising future maintenance.
How to Choose the Correct Size and Material
Choosing the correct size and material for your replacement O-ring is crucial to ensure a proper seal. Measure the existing O-ring's diameter and thickness with a calliper or ruler. When measuring, take care to note any specific features such as shape or groove depth, as these can affect compatibility. Failing to select an appropriate size could lead to leaking taps, negating your repair efforts.
Material selection also plays a key role in the longevity and effectiveness of the O-ring. Common materials include rubber, silicone, and nitrile, each offering different resistance to chemicals and temperatures. Assess the environment where the tap is used, such as exposure to hot water or harsh cleaning chemicals. This will guide you to pick an O-ring that not only fits your tap but also withstands the conditions, helping to prevent future leaks.
Installing the New Oring
After selecting the appropriate replacement O-ring, the next step involves installing it into place. Begin by cleanly locating the O-ring groove on the tap. Make sure it is free of any debris, old lubricant, or remnants of the previous O-ring to ensure a secure fit. Carefully insert the new O-ring into the groove, ensuring that it sits evenly and is not twisted or pinched. The right alignment is crucial as any misplacement can lead to leaking taps in the future.
When securing the tap components back together, be gentle to avoid any damage to the new O-ring. Tighten the tap components firmly, but do not overtighten, as this can compromise the integrity of the O-ring. Once reassembled, turn the water supply back on and check for leaks. Observing how the tap performs post-installation will help confirm whether the new O-ring is functioning correctly, preventing potential issues with leaking taps.
Proper Installation Techniques
When installing the new O-ring, ensure that the surface where the O-ring will seat is clean and free of any debris. This will help create a proper seal once the tap is reassembled. Carefully position the O-ring in the groove, making sure it sits evenly without twists or overlaps. A uniform placement will prevent leaks from occurring once the tap is back in use.
After positioning the O-ring, reassemble the tap parts, taking care not to damage the O-ring during the process. Tighten any screws or fittings by hand first to avoid overtightening, which can compress the O-ring excessively and lead to leaking taps. Finally, turn the water supply back on and check for any signs of leaks before putting everything back into full operation.
FAQS
What tools do I need to change an O-ring in a tap?
To change an O-ring in a tap, you typically need a few tools such as a wrench, screwdriver, utility knife or O-ring pick, and a replacement O-ring.
How do I know if my tap needs a new O-ring?
Signs that your tap may need a new O-ring include leaks around the base of the tap, difficulty turning the tap on or off, or water dripping from the spout when the tap is closed.
Can I use any O-ring as a replacement for my tap?
No, it’s important to choose an O-ring that is specifically designed for your tap. You should select the correct size and material to ensure a proper fit and function.
What should I do if I can’t remove the old O-ring?
If you're having trouble removing the old O-ring, try using a utility knife or O-ring pick to gently pry it off. Be careful not to damage the tap components during the process.
How can I ensure the new O-ring is installed correctly?
To ensure the new O-ring is installed correctly, make sure it is seated evenly in the groove, avoid stretching it during installation, and reassemble the tap carefully to prevent pinching or misalignment.
