Table Of Contents
Replacing Damaged Components
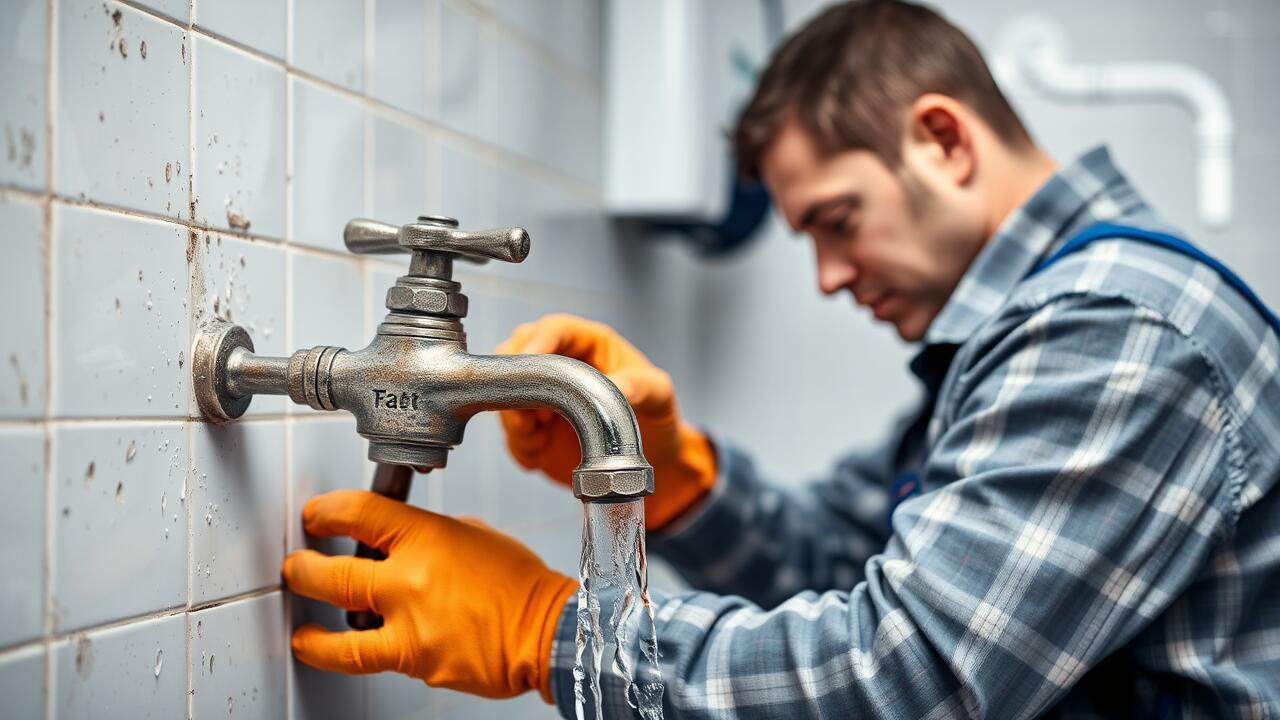
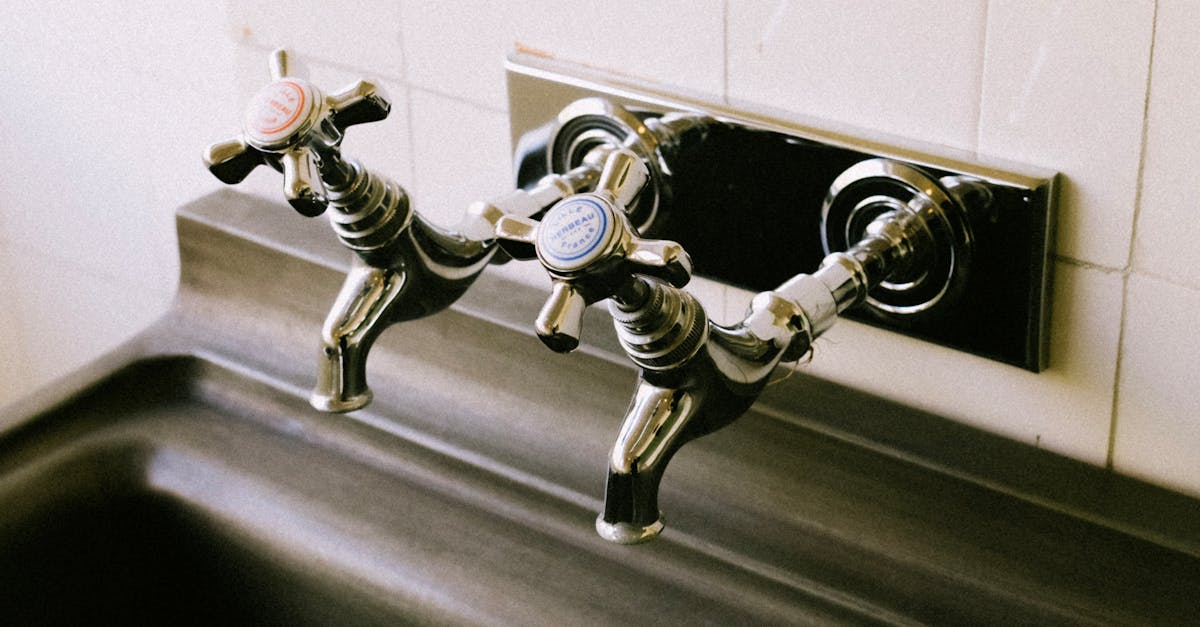
Leaking taps often result from worn-out washers or O-rings, which can be easily replaced. To begin, turn off the water supply and remove the tap handle. Inspect the components for any signs of damage or deterioration. This step is crucial, as faulty parts are commonly the source of leaks. If the washer or O-ring appears cracked or compressed, it will need to be replaced to restore the tap's integrity.
Once you have identified the damaged components, make your way to a hardware store to source suitable replacements. Take note of the size and type of the existing parts, as this will ensure a proper fit for the new components. Choosing the right materials can significantly affect the longevity of your fix. After securing the replacements, you can proceed with reassembly, confident that the damaged parts will no longer contribute to leaking taps.
Finding the Right Size and Type
Finding the right size and type of replacement parts for leaking taps is essential for an effective repair. Begin by identifying the type of tap you have, whether it’s a compression, cartridge, ball, or disc tap. Each type uses different components, so knowing the specific model will guide you in selecting the proper parts. Measure any washers, O-rings, or seals that need replacing; taking these measurements ensures you avoid compatibility issues.
Once you have gathered the necessary measurements, visit a hardware store or plumbing supply shop. Bring the old parts with you if possible, as this can help you find an exact match. Pay attention to the material of the replacements; rubber, silicone, and ceramic are common options. Choosing components that fit correctly and are made from the right materials will ensure the longevity of your repair and help prevent further leaking taps.
Reassembling the Tap
Carefully position the components back into place, ensuring each part fits snugly in its designated area. Start with the washers and O-rings, as these often play a crucial role in preventing leaking taps. Pay attention to any alignment markers that might assist in the reassembly process. Tighten screws or fasteners to secure the components without applying excessive force, which could cause damage to the fittings.
Once all components are in place, attach the tap handle and ensure it rotates smoothly without obstruction. It’s important to verify that all parts are assembled in the correct order to avoid any complications during operation. A well-reassembled tap not only enhances function but also minimises the likelihood of future issues, contributing to a more efficient plumbing system and reducing the risk of leaking taps.
Proper Order for Reassembly
When reassembling a tap, it's crucial to follow the correct order to ensure everything fits properly and functions as intended. Start by placing the O-ring or washer back into its designated groove. This seals the connection and prevents leaking taps from causing further issues. Next, insert the cartridge or valve back into the tap body. Make sure it aligns correctly with any notches or guides. This alignment is vital for smooth operation and to avoid repeated leaks in the future.
Once all components are in position, you can secure any retaining nuts or screws that hold the tap together. Tighten them gently, ensuring not to over-torque, as this could damage the components or disrupt the seal. After securing everything, reattach any decorative covers and handles that were removed. Finally, double-check that all parts are snugly fit before proceeding to turn the water supply back on, which will allow you to assess the effectiveness of your work against leaking taps.
Turning the Water Supply Back On
Once you've reassembled the tap, it's time to turn the water supply back on. Begin by carefully opening the shut-off valves you closed earlier. This process might cause the pipes to make some noise as water rushes back into the system. Allow a few moments for any remaining air to escape from the pipes and settle. Monitoring your surroundings during this stage is essential, as it helps ensure everything is functioning correctly.
After turning the water supply on, take a close look for any new leaks. Observe the areas around the tap, especially at the joints and any previously damaged spots. The goal is to confirm that the replacement components are holding up under pressure. If you notice any dripping or pooling, it may indicate that adjustments are needed. Addressing leaking taps promptly can prevent further damage and save on water bills.
Checking for Any New Leaks
Once you have reassembled the tap and turned the water supply back on, it’s essential to check for any new leaks. Carefully inspect the joints and connections to ensure everything is snug and properly sealed. A small amount of water escaping during this stage can indicate that further adjustments are necessary. Patience is key as you take the time to observe whether there are any signs of moisture around the fittings.
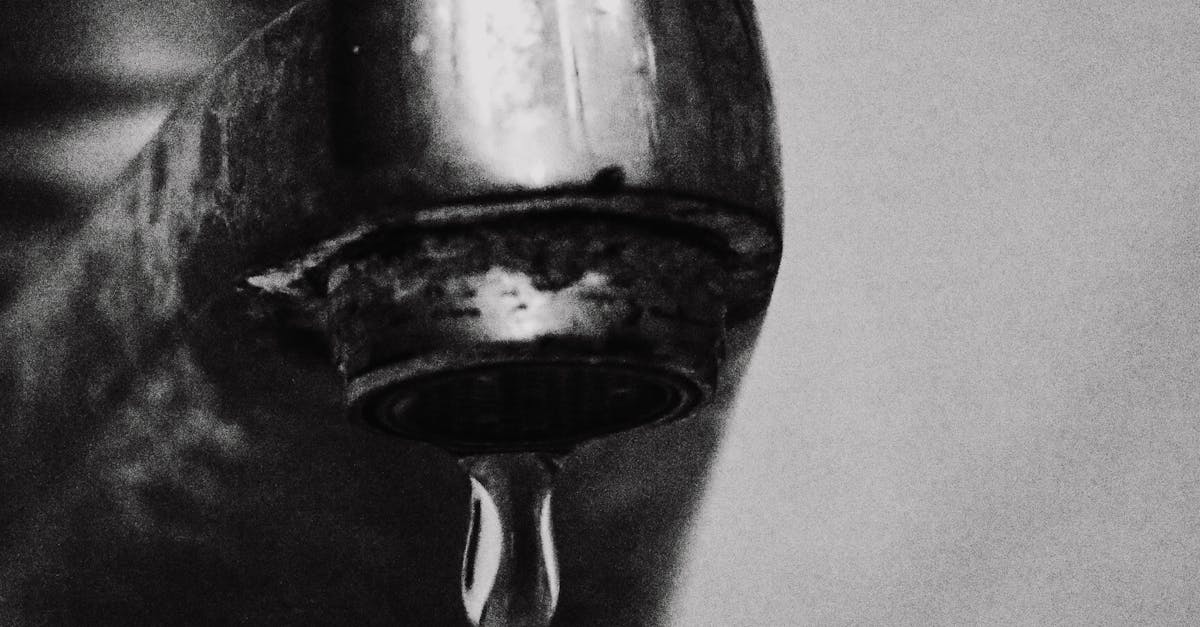
Leaking taps can cause significant water wastage and increase your water bill. If you notice any new leaks, you may need to disassemble the tap again to reapply or replace seals, washers, or any components that may not have been fitted correctly. Keeping a close eye on the tap for the next few days helps confirm that the issue is resolved and ensures that your repair has been successful.
FAQS
What are the common causes of a leaking tap?
Common causes of a leaking tap include worn-out washers, damaged O-rings, corroded valve seats, or loose fittings.
How do I know which parts need replacing?
To determine which parts need replacing, disassemble the tap and inspect components for wear or damage, such as frayed washers or cracked O-rings.
Can I use any type of washer for my tap?
No, it's important to use the correct type and size of washer for your specific tap model to ensure a proper seal and prevent further leaks.
How can I prevent my tap from leaking in the future?
To prevent future leaks, regularly check and maintain your taps, replace washers and O-rings when they show signs of wear, and avoid over-tightening the tap handles.
What should I do if my tap continues to leak after repairs?
If your tap continues to leak after you’ve replaced components and reassembled it properly, it may be best to consult a plumber for further assessment and repair.
