Table Of Contents
Inspecting Faucet Components
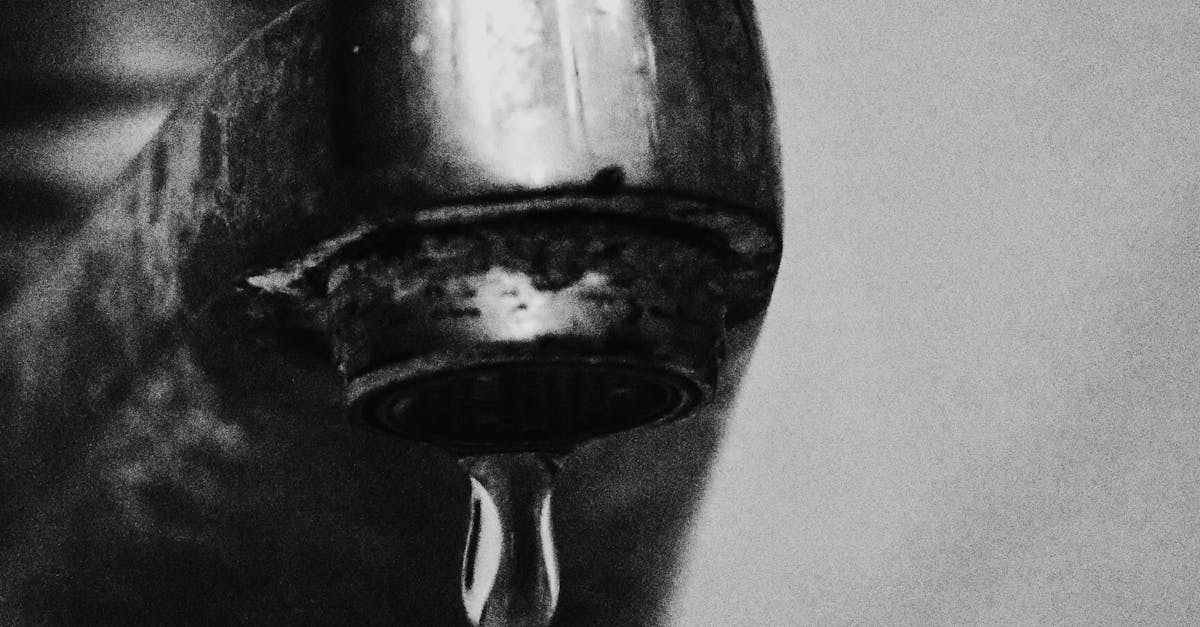
Leaking taps can often be attributed to worn or damaged components within the faucet. Before attempting any repairs, it’s essential to inspect the various parts closely. Start by turning off the water supply to the tap. Remove any decorative covers before unscrewing the handle to gain access to the inner workings. Look for signs of wear such as cracks in the body of the faucet, corroded metal, or discolouration, which may indicate potential problem areas that need addressing.
Pay special attention to the washers and O-rings, as these parts are the most common culprits behind leaking taps. Examine them for any signs of deterioration, such as fraying or hardening. If these components appear damaged, they will likely need to be replaced to stop the leak effectively. Additionally, checking other internal parts, like the cartridge or valve seat, can help identify further issues that may require attention during the repair process.
Identifying Worn or Damaged Parts
Leaking taps often stem from worn or damaged components within the faucet. Common culprits include washers, O-rings, and seals that wear down over time due to regular use. Signs of wear can include visible cracks, thinning, or hardening of these parts. If a part appears discoloured or feels brittle, it is likely time for a replacement. A careful assessment of these components can provide insight into the source of the leak.
In addition to visual inspections, testing the faucet can reveal underlying issues. Turn on the tap to observe the flow of water. If it drips or leaks even when the faucet is fully closed, the internal components may be compromised. Pay attention to any unusual noises or resistance when turning the handle, which can indicate problems as well. Identifying the precise source of the leak is crucial for effective repairs, ensuring that you replace only the parts that require attention.
Replacing Washers and ORings
Replacing washers and O-rings is often the most effective solution for addressing leaking taps. These components wear out over time due to constant usage and can cause dripping or leaking when they become damaged. Identifying the correct size and type of washer or O-ring is crucial for ensuring a proper fit. Most hardware stores offer a variety of options, making it easier to find replacements that match your existing faucet.
Once you've acquired the appropriate washers and O-rings, the replacement process is straightforward. Begin by shutting off the water supply to the tap, then disassemble the faucet to access the internal parts. Carefully remove the old washers or O-rings, noting their placement for accurate reinstallation. After cleaning the area, place the new components in their respective positions. This attention to detail will help eliminate leaks and restore functionality to your tap.
StepbyStep Guide to Replacement
To replace the washers and O-rings in a leaky tap faucet, first, ensure that the water supply is turned off. Use a cloth to catch any residual water and prevent spills. Carefully disassemble the faucet by removing the handle and any decorative parts, taking care to note the sequence of parts for easier reassembly later. Keep track of small components, as losing them can complicate the repair process. Inspect the washers and O-rings for signs of wear or damage, as these are usually the culprits behind leaking taps.
Once you have identified the faulty parts, remove them gently. Measure the size of the old washers and O-rings to ensure you purchase the correct replacements from a hardware store. After acquiring the new parts, position them where the old ones were located. Reassemble the faucet in the reverse order of disassembly, ensuring each piece fits snugly in place. Turn the water supply back on and test for leaks, ensuring that all components are securely fastened and functioning correctly.
Reassembling the Faucet
After replacing the worn or damaged components, the next step is to carefully reassemble the faucet. Begin by positioning the main body back into place. Ensure that all parts are aligned correctly based on the original setup. It can be helpful to refer to the notes or pictures taken during disassembly for accurate reassembly. Once the pieces fit snugly, secure them with the screws or nuts provided, taking care not to overtighten, which could result in additional leaks.
Finish with the handle and any decorative elements. For lever-style taps, ensure the handle rotates smoothly and is not in contact with surrounding fixtures. Test the faucet by turning the water supply back on before completely sealing any access points. Monitor for leaks during this test phase. Address any dripping promptly, as leaking taps can often lead to larger issues if not managed quickly.
Tips for Putting the Faucet Back Together
Carefully reassemble the faucet by retracing your steps during disassembly. Ensure that each part fits snugly in place. Pay special attention to the orientation of washers and O-rings. Improper alignment can lead to issues later. Secure all screws tightly but avoid overtightening, which may damage the components.
After reassembly, turn the water supply back on slowly. Check for any leaks during this initial run. If you notice any leaking taps, you may need to disassemble and inspect the components again. Taking the time to ensure everything is correctly installed will save you time and prevent further inconveniences.
FAQS
What are the common causes of a leaky tap faucet?
Common causes include worn or damaged washers, O-rings, and cartridge seals, as well as loose fittings or corrosion within the faucet components.
How do I know if the washer or O-ring needs replacing?
If you notice water dripping from the spout or around the handle, or if the faucet is difficult to turn, it may indicate that the washer or O-ring is worn or damaged and needs replacement.
Can I fix a leaky tap faucet myself, or should I hire a plumber?
Many leaky tap faucets can be fixed by homeowners with some basic tools and DIY skills. However, if you are unsure or uncomfortable with the repair process, it's advisable to hire a plumber.
What tools do I need to fix a leaky tap faucet?
You'll typically need a wrench, screwdriver, replacement washers or O-rings, and possibly plumber's grease. Always check the specific requirements for your faucet model.
How often should I check my tap faucets for leaks?
It's a good idea to inspect your tap faucets regularly, at least once a year, and address any leaks promptly to prevent water waste and potential damage.
