Table Of Contents
Inspecting the Faucet Assembly
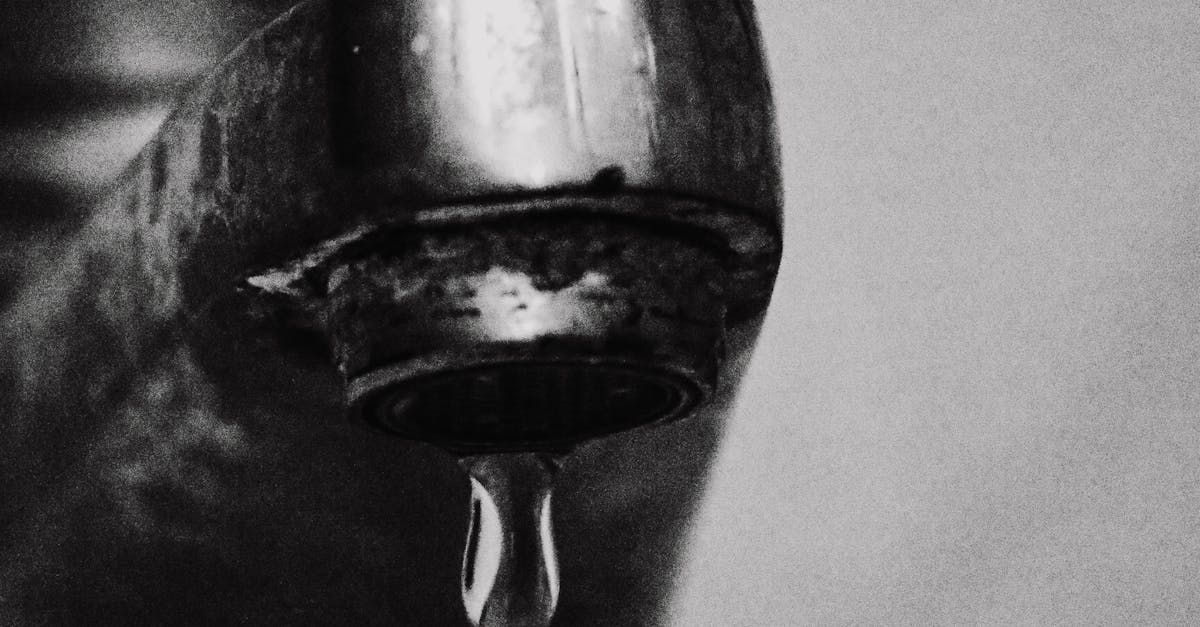
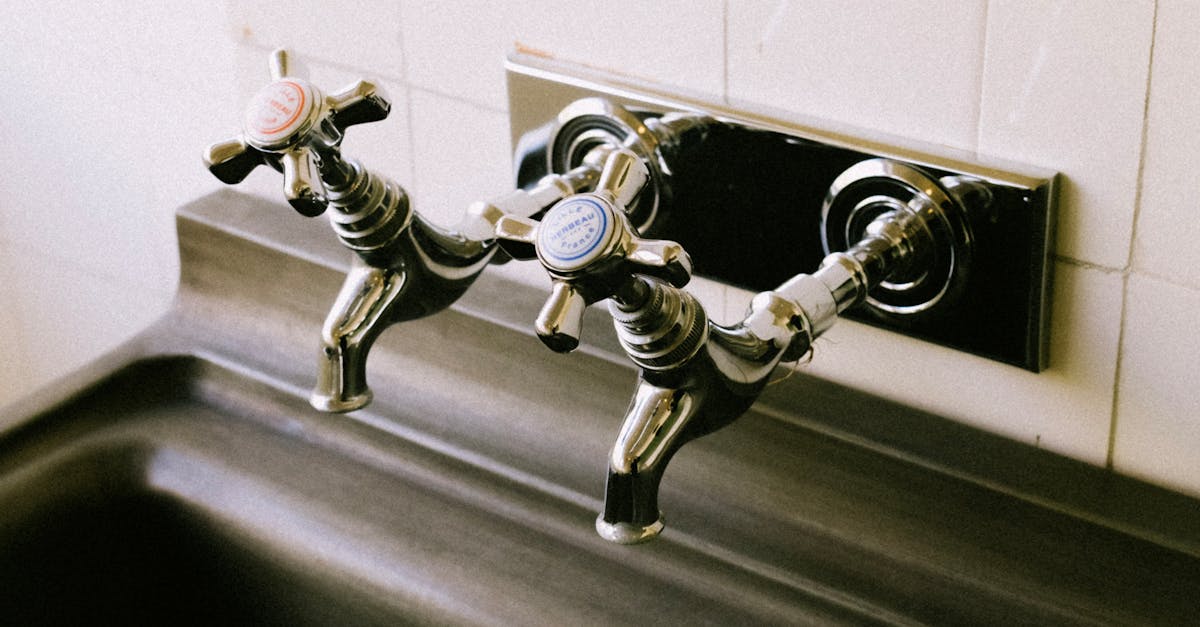
Inspecting the faucet assembly is a crucial first step when addressing leaking taps. Begin by looking for visible signs of wear or damage. This includes checking the handles, spouts, and any visible joints. If there is corrosion or mineral buildup around these areas, it could indicate the source of the leak. Pay attention to the water flow as well; irregularities in how the water exits the tap may point to deeper issues within the assembly.
Take the time to observe the washer and O-rings, as they often play a significant role in preventing leaks. These components can degrade over time due to constant friction and exposure to water. If any parts appear worn or out of place, it’s likely they need replacing. Noticing these details during your inspection can save time and effort during the repair process, ultimately leading to a more effective solution for your leaking taps.
Disassembling the Faucet for a Thorough Check
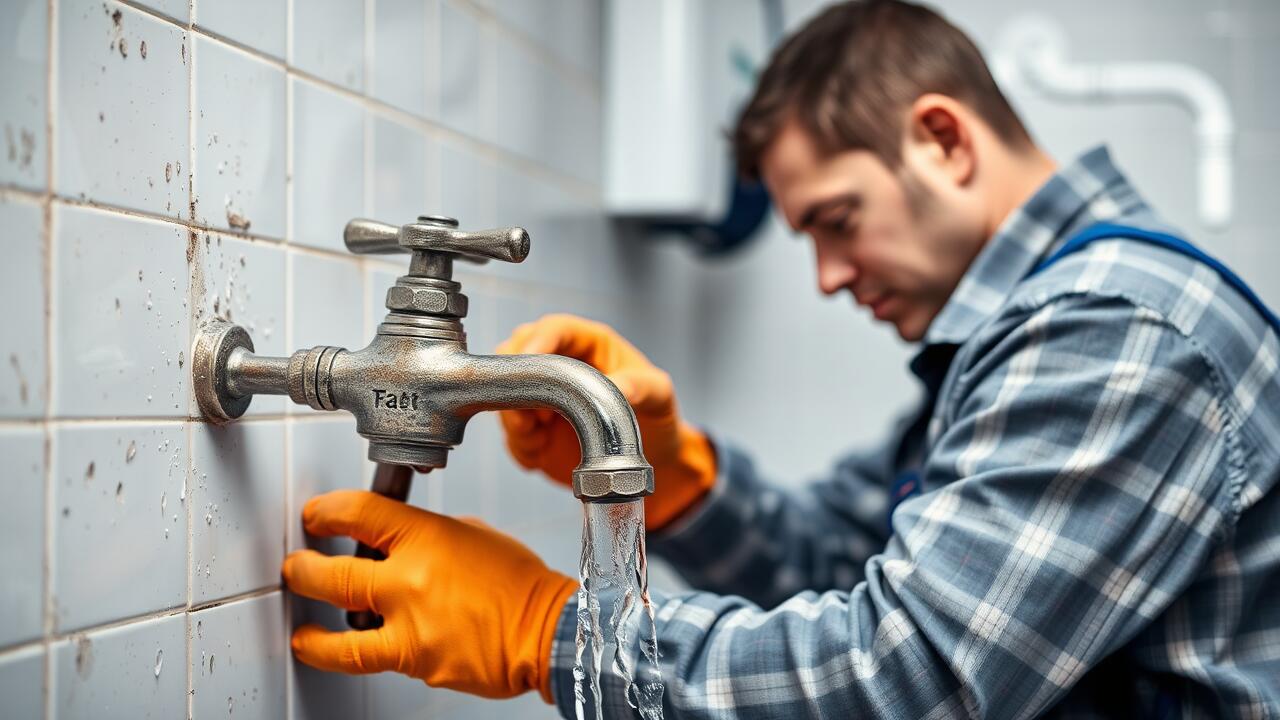
To disassemble the faucet effectively, ensure you have the necessary tools at hand. Common tools include a wrench, screwdriver, and a cloth to prevent scratches. Start by turning off the water supply to avoid any surprises during the disassembly. Once you have access to the faucet assembly, carefully remove the handle. Depending on the type of tap, you may need to access screws located beneath decorative caps. Take your time to avoid damaging any components since leaking taps often stem from worn or faulty parts.
Once the handle is removed, inspect the inner workings of the faucet for any signs of wear or damage. Look closely at the O-rings and washers, as these are common culprits in leaking taps. If you find any leaks or corrosion, take note of the specific parts that need replacement. It’s advisable to keep the old components nearby to ensure you purchase the correct replacements. Carefully document the order in which parts are removed to make reassembly easier later on.
Sealing Leaks with Plumber’s Tape
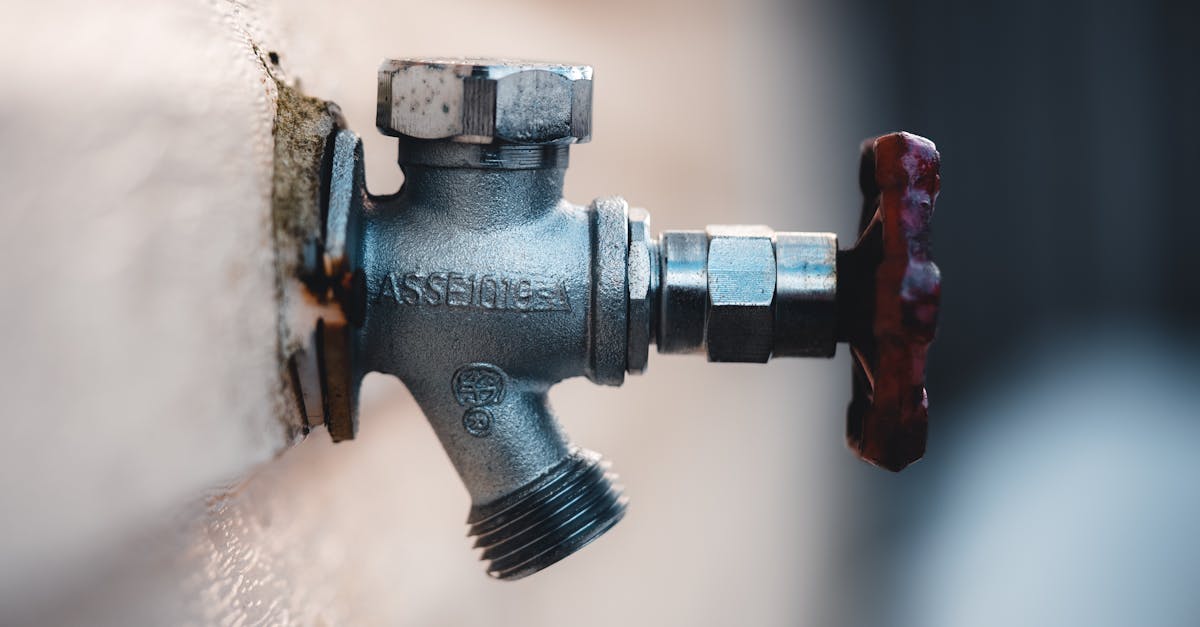
Plumber’s tape, also known as Teflon tape, is a practical solution for sealing leaks in threaded connections. When dealing with leaking taps, this simple yet effective material can prevent further water loss and reduce the risk of water damage. It's essential to choose a good-quality tape designed specifically for plumbing applications, as it offers better durability and resistance against water pressure.
Before applying the plumber’s tape, ensure the threads of the fittings are clean and free from any debris or old tape remnants. Wrap the tape around the threads in the same direction as the threads spiral, ensuring that it adheres smoothly without overlapping excessively. This method creates a tight seal when the fittings are reassembled, effectively stopping leaking taps and providing peace of mind regarding water conservation in your home.
Applying Plumber's Tape Effectively
Plumber's tape plays a crucial role in repairing leaking taps by providing an effective barrier against water seepage. Before applying the tape, clean the threads of the faucet thoroughly to remove any dirt or old tape residue. This ensures a smooth application and creates a better seal. When wrapping the tape, make sure to cover the threads in the same direction as the threads themselves. This technique allows for a tighter seal and prevents the tape from unwinding when you reassemble the faucet.
After applying the plumber's tape, reassemble the faucet parts carefully. Avoid over-tightening, as this can damage the threads and may lead to further leaks. Once the faucet is back in place, turn the water supply back on and check for any signs of leaking. If done properly, the tape should provide an effective seal, helping to eliminate any dripping or leaking taps. Regular checks will ensure that the repair holds and prevent the need for further intervention.
Testing for Success After Repair
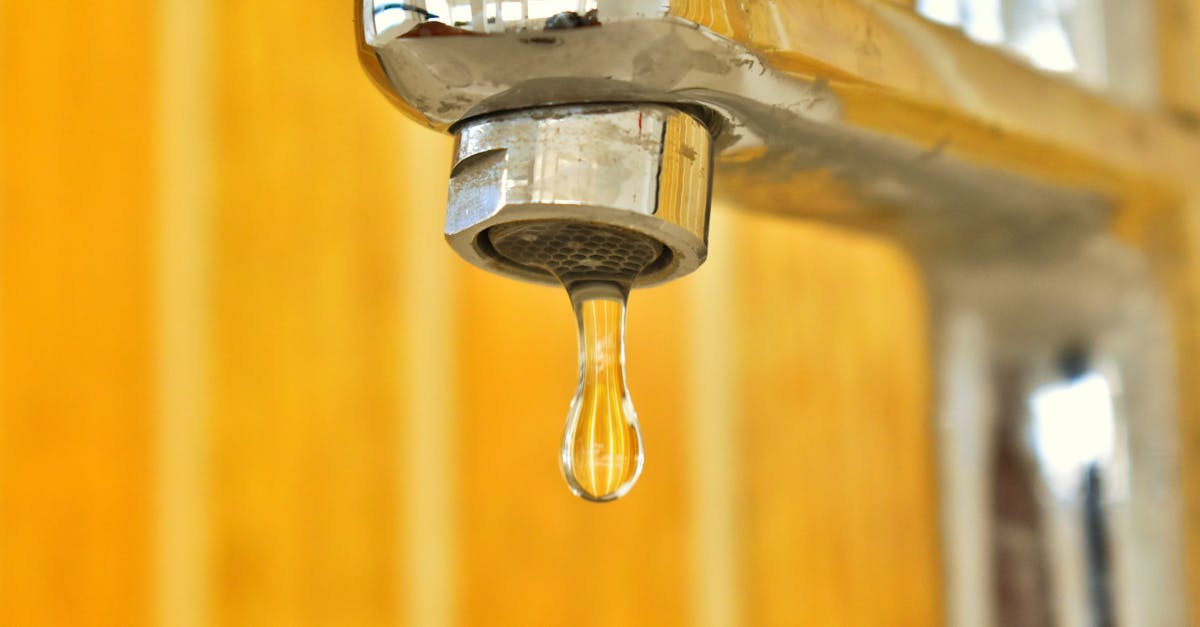
Once you've completed the repair, it’s time to test for success. Turn the water back on slowly and observe the faucet closely for any signs of leaking taps. Pay attention to any drips or moisture around the faucet assembly. This step ensures that your efforts in sealing and reassembling have been effective. If everything appears dry, that’s a positive sign that the repair has been successful.
If you notice any leaks, don’t be discouraged. This may indicate that a component was not properly seated or that more sealing tape is needed. In such cases, it’s advisable to turn off the water supply and disassemble the faucet again. Carefully inspect each part for wear or damage. Reapply plumber's tape where necessary and ensure all connections are tight before conducting another test.
How to Ensure Your Repair Worked
Once you have completed your repairs, it is essential to test the faucet to ensure everything is functioning properly. Turn the water supply back on slowly and watch for any signs of dripping. Run the tap for a few minutes to check for leaks. Carefully observe the faucet assembly, as this will help you identify any potential issues that may have been overlooked during the repair process.
If no leaks are detected, your repair has likely been successful. However, if you notice any water dripping from the tap, it may indicate that further adjustments are needed. Take the time to recheck the tightness of fittings and the effectiveness of seals. Regular monitoring of leaking taps will help maintain your plumbing and prevent future water wastage.
FAQS
What are the common causes of tap water leaks?
Common causes of tap water leaks include worn-out washers, loose fittings, corroded pipes, and faulty seals.
How can I tell if my tap is leaking?
You can tell if your tap is leaking by observing water pooling around the base, noticing a constant drip from the faucet, or hearing water running when the tap is turned off.
Do I need special tools to fix a tap water leak?
While some basic tools like a wrench and screwdriver are usually sufficient, having plumber's tape on hand can also help ensure a proper seal during repairs.
Is it advisable to call a plumber for a small leak?
It depends on your comfort level with DIY repairs. If you're unsure or if the leak persists after your attempts to fix it, it's a good idea to consult a plumber.
How can I prevent future tap water leaks?
To prevent future leaks, regularly inspect your faucets for wear and tear, replace washers and seals as needed, and ensure fittings are tightened properly.
